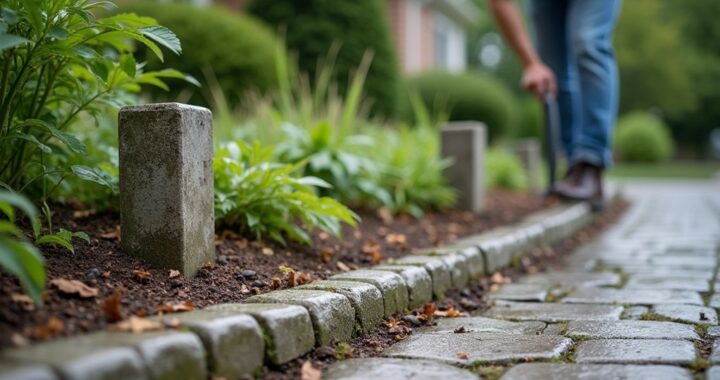

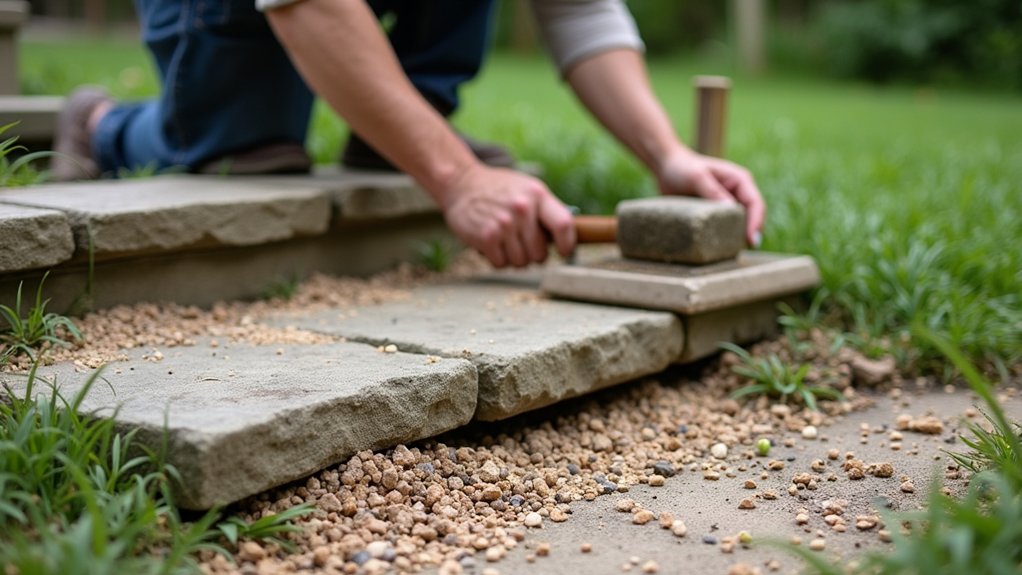
Nearly 20% of residential hardscaping repairs involve shifting or settling caused by poor drainage and weak foundations. If your steps wobble, edging bows outward, or pathway pavers rock underfoot, don’t simply add more soil or sand. You’ll need to identify the underlying problem, work safely, and rebuild the support beneath each feature. The right repair method depends on what you find below the surface—starting with a careful inspection.
Inspect Loose Hardscaping and Find the Cause
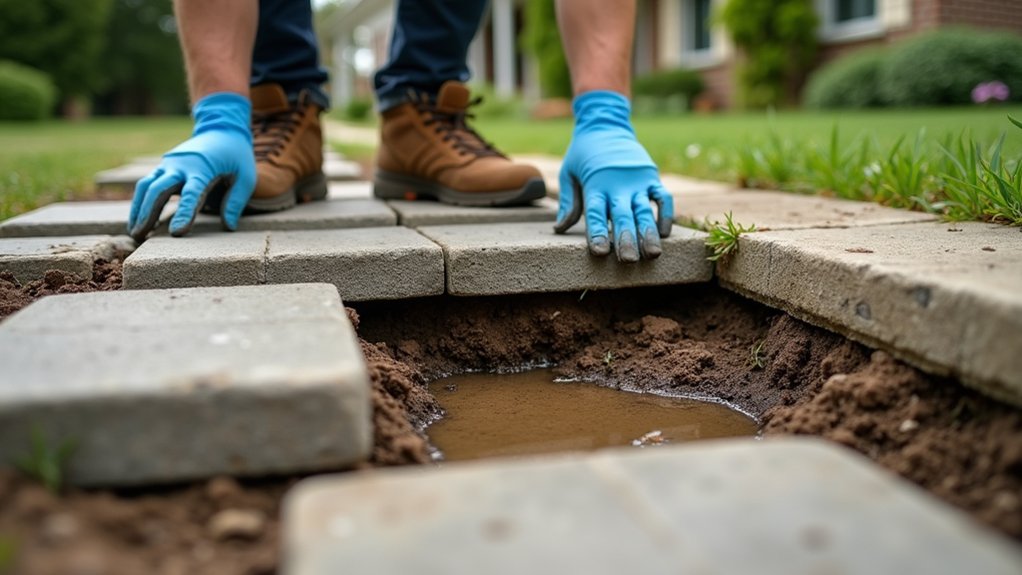
Start by inspecting the loose pavers, stones, steps, or edging to determine why they shifted. Look for eroded bedding material, soft soil, wide joints, root growth, or signs of water movement.
Check whether the feature rocks under pressure, sinks unevenly, or leans away from its original alignment. Don’t step on unstable steps or handle heavy pieces without help; mark hazards and keep people clear.
Trace the cause before planning a repair. Poor compaction may require Soil stabilization beneath the feature, while pooling, runoff, or washed-out sand points to inadequate Drainage solutions.
Inspect nearby downspouts, slopes, and low spots for contributing water. Freeze-thaw movement can lift materials, and expanding roots may displace edging or pathways.
Note the feature’s original grade and alignment, but don’t disturb the area until you’ve identified the underlying problem.
Gather Tools and Prepare the Repair Area
Once you’ve identified the cause, gather the tools and materials that match the repair: work gloves, safety glasses, a shovel, hand tamper, level, rubber mallet, pry bar, broom, replacement bedding sand or gravel, and matching pavers or stones. Confirm your Material selection matches the existing feature in size, color, and texture.
Follow these Safety precautions before disturbing anything:
- Block the work zone with cones or visible markers, and keep children and pets away.
- Wear gloves and eye protection; use proper lifting technique when handling heavy stones.
- Check for buried utilities, remove trip hazards, and keep tools within reach.
Sweep loose debris from the surrounding surface. Photograph the area before disassembly, then mark each piece so you can return it to its original location.
Set replacement materials on cardboard or a tarp to prevent damage and keep the work area organized.
Reset Loose Steps on a Stable Base
Remove each loose step carefully, then inspect it for cracks, damage, or an unstable setting surface.
Rebuild the base with compacted, well-draining material so it supports the full step evenly.
Wear safety gear and don’t reset damaged steps until you’ve repaired or replaced them.
Remove and Inspect Steps
Before resetting a loose step, lift it out carefully and inspect both the step and the base beneath it for cracks, shifting, water damage, or compacted soil. Wear gloves and safety glasses, and use a partner or lifting tool for heavy units. Clean dirt from the step so you can assess its edges, underside, and contact points.
Apply these Inspection techniques:
- Check for fractures, chips, or rocking surfaces that could worsen under weight.
- Look for staining, soft spots, voids, or root intrusion beneath the step.
- Mark uneven contact areas and photograph damage before moving anything.
Keep damaged masonry separate for repair or replacement. Don’t force a stuck step; pry gradually with a flat bar while protecting surrounding surfaces. Accurate observations guide Step stabilization and prevent you from resetting a step over an unresolved problem.
Rebuild a Stable Base
With the step inspected and set aside, rebuild the supporting base before putting it back. Remove loose soil until you reach firm, undisturbed ground. Check the excavation for roots, soft spots, or standing water, and correct those problems before continuing.
Add crushed stone in layers no thicker than 2 inches. Compact each layer thoroughly with a hand tamper or plate compactor; proper soil compaction prevents future settling. Keep the base slightly wider than the step, and maintain the original slope away from structures.
If water collects nearby, improve drainage solutions with a gravel trench, perforated pipe, or additional grading.
Finish with a 1-inch layer of bedding sand or stone dust, then screed it level. Wear gloves, eye protection, and sturdy footwear while handling materials and equipment.
Secure Shifting Landscape Edging
Check for loose edging by testing each section for movement, gaps, or leaning.
You’ll need to reinforce unstable borders with fresh stakes, compacted soil, or a firm base.
Wear gloves and address damaged sections before they shift further or create a tripping hazard.
Identify Loose Edging
When landscape edging starts to shift, inspect it promptly for gaps, leaning sections, lifted ends, or loose stakes that could let soil, mulch, or paving materials spread. Wear gloves and sturdy shoes before handling damaged sections, and watch for hidden nails, sharp metal, or unstable pavers.
Check these warning signs:
- Trace the border and note where the line bows, separates, or no longer follows the intended curve.
- Press gently beside each section; movement, rocking, or hollow soil may reveal a developing failure.
- Examine joints, corners, and stake heads for separation, rust, cracks, or missing hardware.
Record the affected locations and photograph them before disturbing anything. Compare the border with nearby grades, beds, and walkways to judge whether settling or impact caused the change.
Identify the edging materials, since plastic, metal, timber, and masonry show different damage patterns. Early detection protects landscaping aesthetics and helps you plan repairs safely.
Reinforce Edging Borders
Once you’ve identified the unstable sections, reset the edging and reinforce it before soil or mulch worsens the shift. Remove nearby material, then lift the loose section carefully. Inspect the base and replace washed-out soil with compactable gravel or a firm, well-drained bedding layer. Set the edging level with adjacent surfaces, maintaining a smooth curve or straight line.
Drive galvanized spikes or manufacturer-approved stakes through the edging at regular intervals, placing extra fasteners at joints, corners, and slopes. Choose fasteners suited to your Edging materials; plastic, metal, and stone require different methods. Check each connection before backfilling.
Finish your Border installation by tamping soil firmly on both sides, then replace mulch without burying the top edge. Wear gloves and eye protection, and call a professional if roots, utilities, or extensive erosion complicate the repair.
Repair Uneven or Loose Pathways
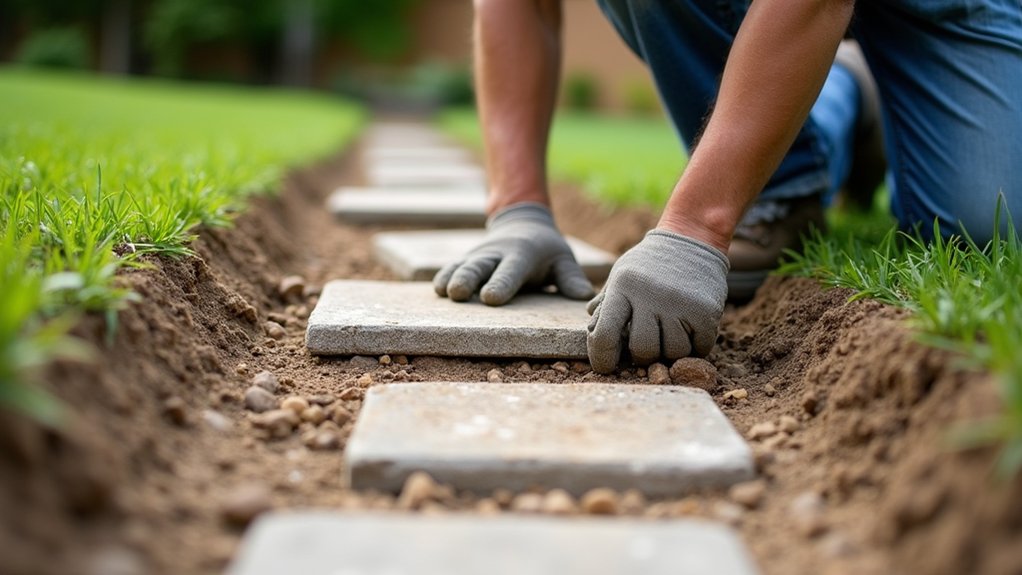
Repair uneven or loose pathways before they become trip hazards or allow water to pool beneath the surface. Block off the area, wear gloves and eye protection, and remove nearby debris. Lift loose pavers or stones carefully, keeping pieces organized so you can replace them correctly.
- Inspect the base: Check for washed-out soil, roots, or damaged edging, then remove unstable bedding material.
- Rebuild the foundation: Add and compact crushed stone, followed by a thin layer of bedding sand. Confirm the surface slopes slightly away from structures.
- Reset the pathway: Replace each unit, tap it level with a rubber mallet, and brush jointing sand into gaps.
Check every edge and transition for movement before reopening the path. Thoughtful material selection supports durability, while clean lines preserve landscaping aesthetics. For extensive settlement or drainage damage, call a qualified hardscape professional.
Prevent Hardscaping From Shifting Again
Prevent shifting by addressing the cause, not just resetting the surface. Improve drainage first: redirect downspouts, remove standing water, and compact weak soil before reinstalling pavers, edging, or steps. Use proper base depth and compact each aggregate layer with a plate compactor.
For slopes or wet ground, add geotextile fabric where appropriate and install restraint along exposed edges.
Material selection also matters. Choose units suited to your climate and traffic, then use compatible bedding sand, jointing material, and concrete or metal edging. Don’t place heavy features on uncompacted fill, and get professional help if erosion threatens a retaining wall or stairway.
Finish with Preventative maintenance. Inspect after freeze-thaw cycles and heavy rain, sweep joints, control weeds, and correct minor settlement promptly. Keep drainage paths clear, and avoid power-washing joint material away.
Frequently Asked Questions
How Much Does Professional Hardscaping Repair Typically Cost?
Professional hardscaping repair typically costs $300–$2,500, depending on damage, access, labor rates, and project size.
You’ll usually pay $50–$100 per hour, plus materials.
Material selection affects pricing: concrete, pavers, stone, and edging each require different repair techniques.
Small resets may cost a few hundred dollars, while rebuilding unstable steps or pathways costs considerably more.
Request multiple itemized estimates, confirm drainage corrections, and prioritize safety over cosmetic savings when features shift or settle.
Can Loose Hardscaping Damage Nearby Plants or Underground Utilities?
Yes, loose hardscaping can damage nearby plants and underground utilities. “A stitch in time saves nine”: address shifting features before movement worsens.
Unstable steps, edging, or pathways can crush roots, expose soil, and redirect water, causing plant damage. Digging or resetting materials may also strike irrigation lines, electrical conduit, gas pipes, or drainage systems, creating serious utility impact.
Before repairs, mark utilities, protect plants, and use careful excavation methods.
When Should Damaged Hardscaping Be Replaced Instead of Repaired?
Replace damaged hardscaping when material deterioration extends beyond surface cracks, pieces crumble, or repeated repairs fail.
Choose replacement if structural stability remains compromised after resetting, compacting, or releveling, especially on steps, retaining edges, or pathways that shift under load.
Also replace features with severe drainage damage, deep settlement, widespread heaving, or unsafe slopes.
Don’t patch hazards indefinitely; secure the area, assess underlying soil and drainage, and hire a professional when needed.
Are Permits Required for Repairing Steps, Edging, or Pathways?
Permit requirements depend on your local jurisdiction and the repair’s scope. You’ll often need no permit for minor work, such as resetting edging or replacing individual pavers.
However, structural step repairs, drainage changes, retaining elements, or work near property lines may require approval. Contact your building department before starting.
During the repair process, follow approved plans, call for utility locates, and maintain safe access. Don’t assume replacement avoids permitting requirements.
How Long Does a Completed Hardscaping Repair Usually Last?
A completed hardscaping repair usually lasts 5–15 years, depending on materials, soil movement, drainage, weather, and installation quality.
You’ll extend its life with regular inspections, prompt crack repairs, and clean, stable joints. Maintenance tips include clearing debris, controlling weeds, and checking for shifting after heavy rain or freezing conditions.
Preventative measures, such as improving drainage and addressing settling early, reduce hazards. Hire a professional when steps move, sink, or become unsafe.
Conclusion
With the right preparation, you don’t need to replace every loose step, edging piece, or pathway. Inspect the cause, rebuild the base with compacted drainage material, and reset each unit carefully. Secure edging with stakes, refill joints with sand, and preserve the intended slope so water can escape. Don’t rush the job: wear gloves and eye protection, lift heavy pieces safely, and call a professional if you find major washouts, unstable walls, or damaged utilities.