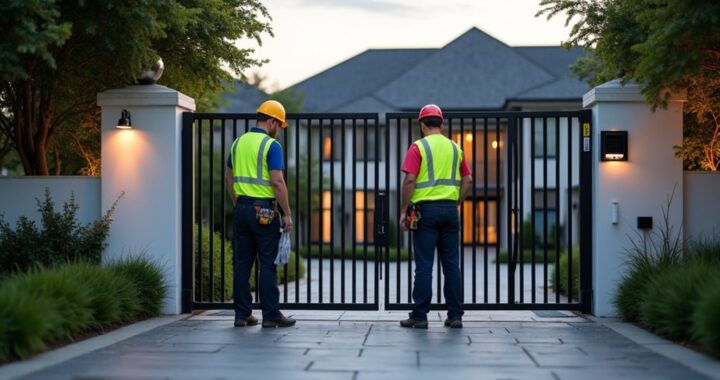
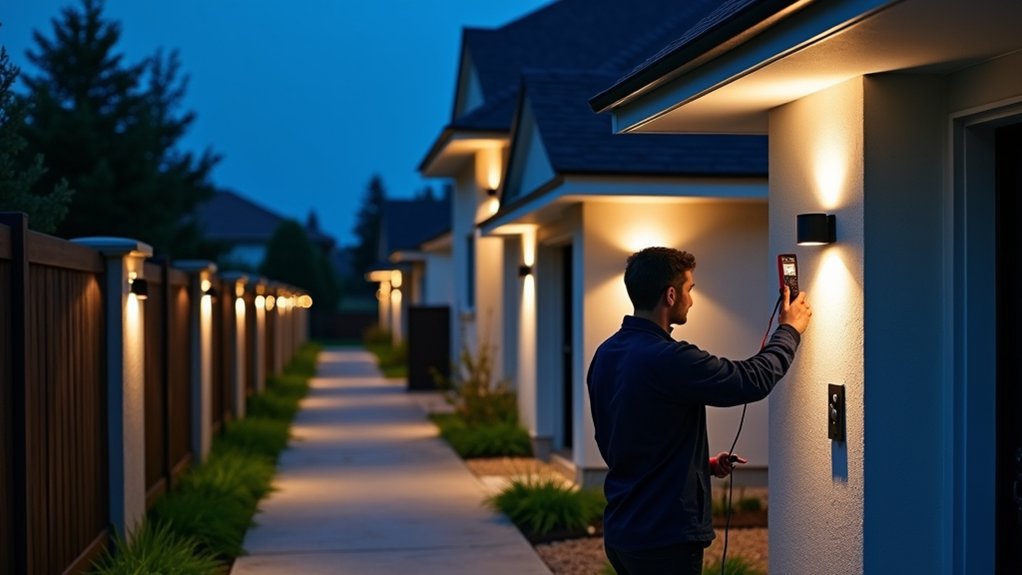
Studies show that well-placed exterior lighting can deter a significant share of opportunistic property crimes, but brightness alone won’t secure your property. You need to survey risks, map dark spots, choose weather-resistant fixtures, and position overlapping coverage around entry points. Motion sensors, timers, and regular maintenance further improve reliability. Start with the most vulnerable areas, because one overlooked approach route can undermine an otherwise effective lighting plan.
Survey Your Property’s Security Risks
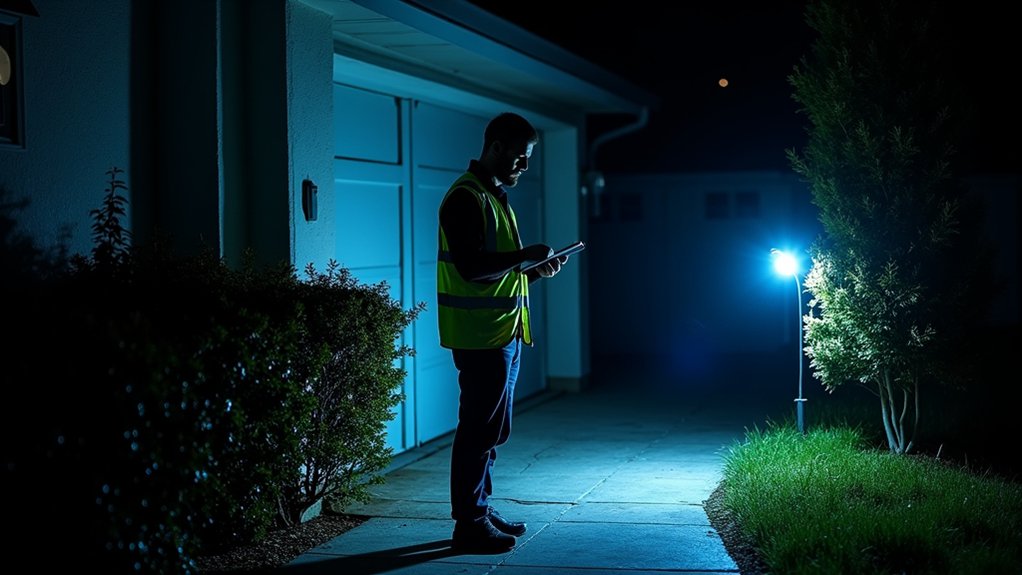
Before installing exterior security lighting, inspect your property to identify where intruders could approach, hide, or gain access. Walk the perimeter during daylight and after dark, noting fences, gates, garages, sheds, windows, and landscaping that might support concealment.
Check whether dense shrubs, tree limbs, retaining walls, or decorative structures obstruct visibility from your home and neighbors. Consider how residents and visitors move across the property so fixtures won’t create glare, confusion, or unsafe shadows.
Review existing wiring, outlets, and mounting surfaces for damage before planning installation. Balance protection with landscape aesthetics by choosing discreet fixtures and aiming light carefully.
Favor timers, motion sensors, and efficient LED bulbs to improve energy efficiency without sacrificing dependable coverage. Record your observations, then prioritize risks according to access, visibility, and property value.
Map Dark Spots and Key Entry Points
Map dark spots and key entry points by marking every area where lighting fails to reach doors, windows, gates, garages, sheds, and paths to the property. Walk the site after sunset, then record blind zones from an intruder’s perspective. Note obstructions, shadows, and routes that could conceal movement.
- Check behind shrubs, walls, fences, and outbuildings.
- Mark secondary doors, basement windows, and side gates.
- Identify approaches hidden from neighbors or street traffic.
- Compare coverage with landscaping aesthetics to avoid unnecessary glare.
- Prioritize locations where energy efficiency can support consistent operation.
Create a simple property sketch and rank each point by exposure and risk. Include camera views, sightlines, and areas where someone could tamper with equipment unseen. Share the map with installers so they can address coverage gaps without duplicating illumination.
Recheck the property seasonally, because growing vegetation and changed storage can create new shadows.
Choose Weather-Resistant Security Lights
Choose lights rated for outdoor exposure, with weather-resistant housings and an IP rating suited to the installation site. Check the rating’s protection against dust, rain, and water jets, then match it to your local conditions.
Coastal properties need corrosion-resistant materials, such as marine-grade aluminum, stainless steel, or protected polycarbonate.
Look for durability features including sealed connections, UV-resistant lenses, impact-resistant covers, and powder-coated housings. These details help your fixtures withstand storms, temperature changes, insects, and accidental contact without exposing wiring or reducing reliability.
Verify that mounting hardware resists rust and that gaskets remain replaceable. Select products from reputable manufacturers with clear warranty terms and replacement-part support.
Weather resistance protects your security investment, prevents premature failures, and keeps the system dependable when severe weather creates the greatest need for exterior protection.
Select the Right Light Levels and Beam Angles
Set light levels and beam angles according to each area’s security needs, not simply the fixture’s maximum output. Choose illumination levels that reveal faces, doors, and hazards without creating glare or deep shadows. Match the beam spread to the area you must cover:
- Use narrow beams for gates, doors, and pathways.
- Choose medium beams for driveways and entry zones.
- Select wide beams for open yards and loading areas.
- Reduce brightness near windows to limit glare indoors.
- Use consistent color temperature for clearer camera images.
Check the manufacturer’s photometric data rather than relying on wattage alone. Excessive brightness can wash out surveillance footage and provide poor contrast. Lower, controlled output often improves identification.
Consider dimming or adaptive fixtures when activity patterns vary, but verify that minimum illumination levels remain sufficient for cameras and safe visibility. Calibration should follow local security requirements.
Position Exterior Security Lighting Effectively
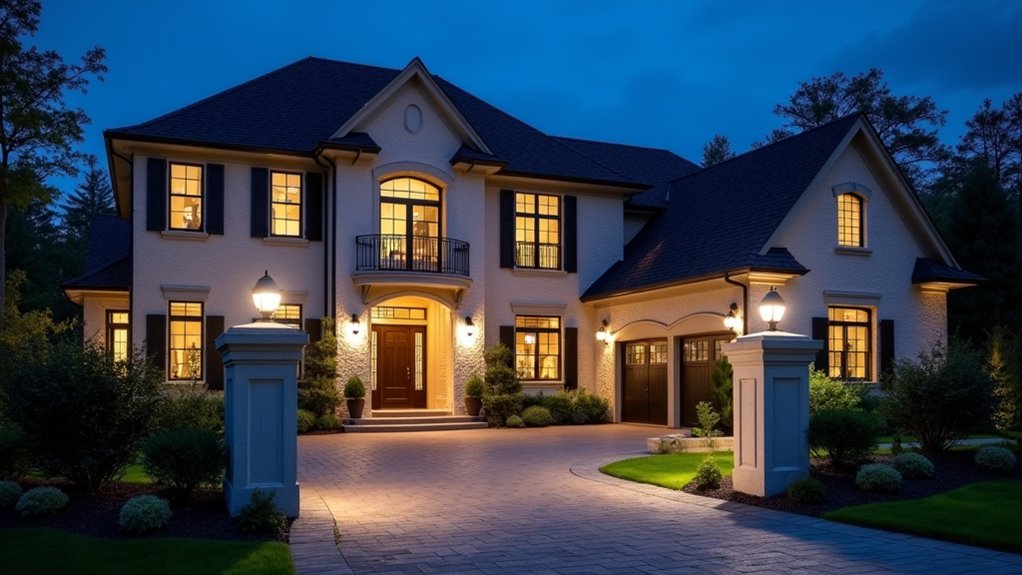
Position lights to cover key entry points, including doors, windows, gates, and garages. Aim fixtures to remove dark zones around your property without creating glare or hiding spots.
You’ll improve visibility and deter unauthorized access by maintaining consistent coverage.
Cover Key Entry Points
Cover every key entry point with overlapping light coverage, including front and back doors, garage doors, side gates, and basement access. Position fixtures to illuminate people approaching locks, not merely the surrounding landscape. Use this checklist:
- Mount motion-activated lights above each exterior door.
- Aim garage fixtures across driveways and toward handles.
- Place gate lights where you can identify visitors before opening.
- Illuminate basement stairs and access doors with weatherproof fixtures.
- Choose shielded designs that support landscape aesthetics without glare.
Keep switches, sensors, and wiring protected from tampering. Set motion sensors to activate before someone reaches the entry, then test coverage from several approach angles. Adjust sensitivity to limit false triggers from pets or traffic.
Make seasonal adjustments as vegetation grows, snow accumulates, or daylight hours change. Confirm that every light works reliably after rain, freezing temperatures, and power interruptions.
Eliminate Dark Zones
Eliminate dark zones by mapping the property at night and identifying areas hidden from every fixture, including corners, walkways, fence lines, and spaces beneath eaves.
Reposition existing lights or add focused fixtures to cover these gaps without creating glare or deep shadows. Aim beams across approaches rather than directly at windows, cameras, or neighbors.
Use overlapping illumination around doors, gates, garages, and side passages so intruders can’t move between isolated pools of light.
Trim shrubs and branches that block coverage, and check how seasonal growth may change visibility.
Choose shielded, adjustable fixtures that preserve landscape aesthetics while directing light where you need it.
Install motion sensors in low-traffic zones, but maintain steady lighting at critical entrances.
Select efficient LEDs and timed controls to improve energy efficiency without sacrificing dependable nighttime coverage.
Add Motion Sensors, Timers, or Smart Controls
Add motion sensors, timers, or smart controls to make your exterior security lighting responsive and efficient. Choose controls that match each location’s security needs and your daily routine. Motion activation can startle intruders while limiting unnecessary nighttime illumination. Use timers for entrances, pathways, and areas requiring predictable coverage.
- Aim sensors across approaches, not directly at sidewalks.
- Adjust sensitivity to reduce false triggers from pets or vehicles.
- Set activation times long enough to identify movement safely.
- Program timers around seasonal sunset and sunrise changes.
- Use smart integration for remote control, alerts, and scene settings.
Connect controls to compatible fixtures, then protect devices with strong passwords and updated firmware. Energy efficiency improves when lights operate only when needed, but don’t let savings create dark gaps.
Select weather-resistant equipment rated for your climate, and place sensors where walls, branches, or parked vehicles won’t block detection. Ensure controls preserve visibility around locks, steps, and cameras.
Test, Maintain, and Improve Your Lighting System
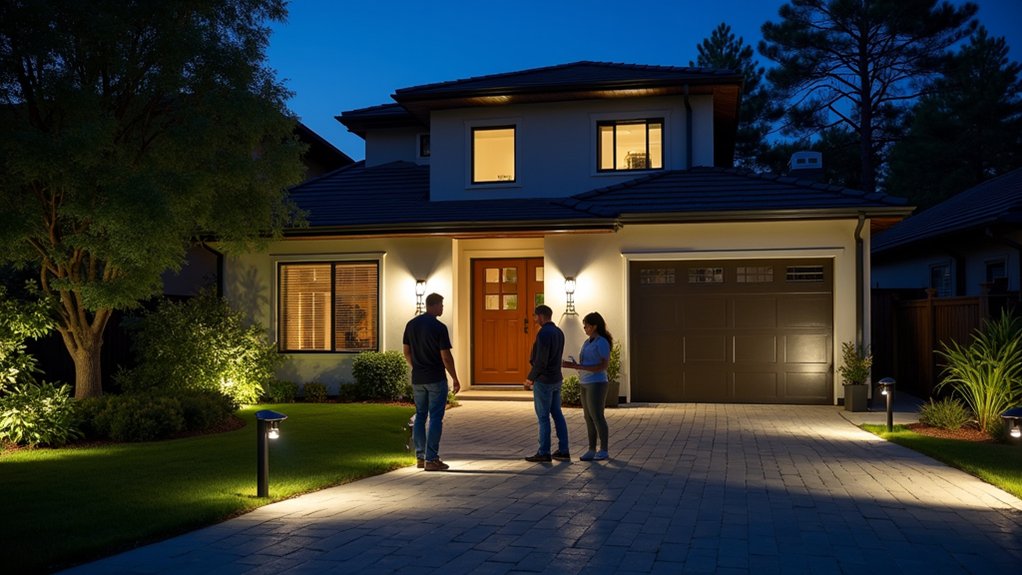
Test your lights after installation and confirm they illuminate entry points, paths, and vulnerable areas without creating blind spots.
Schedule routine maintenance to clean fixtures, replace failed bulbs, inspect wiring, and verify sensors or timers still work correctly.
Improve coverage and efficiency by adjusting angles, adding fixtures where needed, and using the lowest effective brightness.
Test Lighting Performance
Once your exterior lights are installed, verify that they illuminate entry points, walkways, gates, and other vulnerable areas without creating glare or dark gaps. Test performance after sunset, when shadows and coverage are easiest to assess. Walk the property, check camera views, and confirm motion sensors trigger promptly.
Compare brightness against security needs, using a lumens comparison rather than appearance alone.
- Check coverage from several approach angles.
- Confirm fixtures don’t blind drivers, neighbors, or cameras.
- Test motion activation at different distances.
- Watch for flickering, delayed startup, or inconsistent color.
- Record weak areas and adjust fixture direction.
Review bulb longevity and choose replacements that maintain dependable output, but don’t schedule replacement work during this test.
If lighting remains uneven, reposition fixtures, add shielding, or select a stronger, properly rated unit. Retest until every vulnerable zone stays visible without compromising safety.
Schedule Routine Maintenance
Schedule routine maintenance to keep your exterior security lighting reliable after installation. Inspect fixtures monthly for cracked lenses, corrosion, loose mounts, exposed wiring, and water intrusion.
Clean lenses and solar panels carefully so dirt doesn’t reduce illumination or prevent charging. Replace failed bulbs promptly, and track each bulb’s installation date to estimate bulb lifespan and prevent dark periods.
For LED systems, check drivers, photocells, timers, and motion sensors for secure connections and accurate operation. Examine cables and junction boxes for damage, then shut off power before performing repairs.
Monitor power consumption through your electrical panel or smart controller; unexpected increases can indicate failing components or moisture-related faults.
Test battery backup systems according to the manufacturer’s schedule, replacing weak batteries before emergencies.
Record inspections, repairs, and test results so you can identify recurring failures and keep your security lighting dependable.
Improve Coverage And Efficiency
Review your exterior security lighting after dark to find shadows, glare, or overlapping beams that reduce coverage. Walk your property’s perimeter and adjust fixtures until entrances, paths, gates, and vulnerable areas remain visible without blinding neighbors or cameras. Prioritize lighting aesthetics, but never let appearance weaken security.
- Aim fixtures downward to limit glare and light trespass.
- Replace dim, flickering, or damaged bulbs immediately.
- Clean lenses, panels, and sensors to preserve brightness.
- Set motion sensors to detect approach routes accurately.
- Use timers, LEDs, and smart controls to improve energy efficiency.
Test coverage from an intruder’s likely approach, then confirm cameras capture clear images.
Trim branches that block beams and reposition lights as landscaping changes.
Record adjustments and inspection dates so you can maintain consistent performance. Recheck the system seasonally, after storms, and whenever you add structures or security equipment.
Frequently Asked Questions
What Is the Average Cost of Installing Exterior Security Lighting?
You’ll typically pay $300–$1,500 to install exterior security lighting, depending on fixture count, wiring, labor, and electrical access. Basic wired lights cost less, while professional installations with motion sensors, timers, or cameras cost more.
Solar options can reduce wiring expenses, though quality fixtures may increase upfront costs. Ask contractors for itemized estimates, verify permits, and choose weather-resistant, tamper-resistant equipment.
Budget extra for trenching, panel upgrades, or difficult roofline access.
Do Exterior Security Lights Increase Home Insurance Discounts?
Exterior security lights may increase home insurance discounts, but insurers rarely offer automatic savings solely for installing them. You’ll improve your chances by using motion-activated lighting technology, tamper-resistant fixtures, and professionally installed systems integrated with alarms or cameras.
Ask your insurer about eligibility, required documentation, and approved devices before buying equipment. Keep installation receipts, product specifications, and maintenance records.
Your insurer may evaluate the entire security system rather than lighting alone when determining discounts.
Can Exterior Lighting Deter Wildlife and Nuisance Animals?
Yes, exterior lighting can deter some wildlife and nuisance animals, but it won’t eliminate them. Motion-activated fixtures, directed beams, and sudden illumination may discourage raccoons, deer, foxes, and trespassers from approaching.
For effective Wildlife deterrence and Nuisance animal prevention, avoid constant bright lighting, which animals may ignore, and eliminate food, water, and shelter sources.
Shield fixtures to prevent glare, protect neighbors, and maintain reliable security around entry points, trash areas, gardens, and outbuildings.
Are Permits Required for Installing Exterior Security Lights?
Better safe than sorry: you may need permits to install exterior security lights, especially when adding new wiring, altering electrical systems, mounting fixtures on shared structures, or placing lights near public property.
Check your city, county, homeowners association, and utility requirements before work begins. Permit requirements vary locally, while installation regulations may govern height, wiring, brightness, glare, and light trespass.
You’ll protect your property and avoid fines by confirming compliance first.
How Can Exterior Security Lighting Minimize Light Pollution?
You can minimize light pollution by directing exterior security lights downward and using full-cutoff fixtures that keep illumination on your property.
Choose warm-colored, energy-efficient LEDs, install motion sensors, and set timers so lights operate only when needed.
Aim fixtures away from windows, streets, and neighboring properties to prevent light trespass.
Use the lowest brightness that clearly supports surveillance, and inspect placement after dark to eliminate glare, shadows, and unnecessary spill.
Conclusion
Reliable exterior security lighting starts with knowing your property’s risks, then combining durable fixtures, thoughtful placement, and responsive controls. Don’t simply add brighter bulbs—eliminate blind spots while limiting glare and energy waste. For example, a homeowner might illuminate the driveway, side gate, and back door with overlapping motion-activated LEDs, discouraging approaches without lighting the street all night. Test coverage after dark, clean fixtures regularly, and adjust settings as your security needs change.