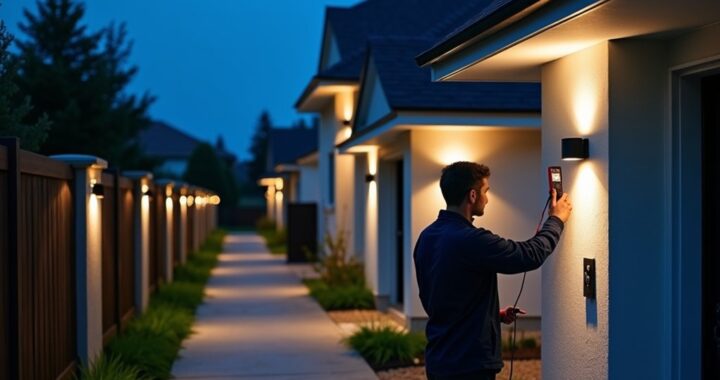
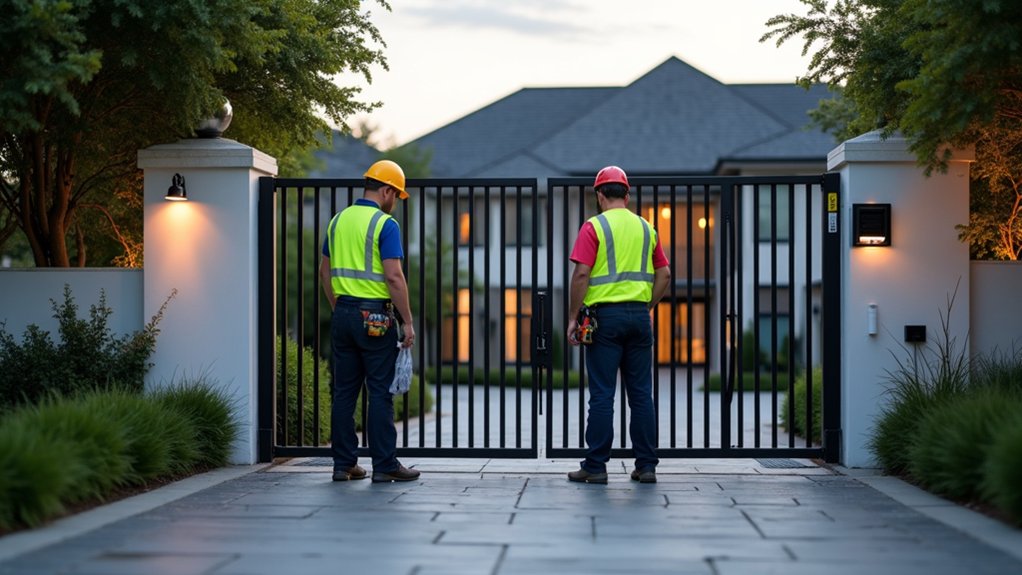
Installing an electronic driveway gate starts with choosing a system that matches your property, traffic level, climate, and security requirements. You’ll need accurate site preparation, reinforced supports, compliant wiring, reliable access controls, and correctly positioned safety sensors. After installation, routine inspections and testing help prevent failures and unauthorized entry. This guide covers each stage, including common faults—but one overlooked detail can compromise the entire system.
Choose the Right Electronic Driveway Gate

When choosing an electronic driveway gate, match the gate’s size, material, operating speed, and automation system to your property’s security requirements and available power.
Select a gate material that resists corrosion, impact, and forced entry in your climate. Steel offers strength, while aluminum reduces weight and operator load; wood provides privacy but demands more maintenance.
Choose a swing or sliding design according to traffic patterns, clearance, and slope, without addressing installation conditions.
Specify a motor rated for the gate’s weight, dimensions, duty cycle, and expected daily openings.
Review security features, including access control, encrypted remotes, keypad or card readers, vehicle detection, safety sensors, manual release protection, and battery backup.
Confirm compatibility among the controller, intercom, cameras, and emergency systems.
Prioritize documented ratings, serviceable components, and a warranty from a reputable manufacturer before purchase.
Prepare the Site and Install the Gate
Prepare the gate site before setting posts or connecting automation. Confirm property lines, local setbacks, drainage paths, and underground utilities. Mark the opening to match the gate’s clear width, vehicle turning radius, and hinge or slide travel.
Excavate below the local frost line, then install reinforced concrete footings sized for the gate’s weight, wind load, and manufacturer requirements. Keep posts plumb, aligned, and accurately spaced; even minor movement can cause binding and weaken security.
Provide a level, compacted track base for sliding gates, or verify sufficient clearance for swing leaves. Plan landscaping integration without allowing roots, branches, or soil to obstruct movement.
Choose an aesthetic design that complements the property while preserving sightlines and limiting climbable gaps. After curing, mount the gate, hardware, stops, and guards, then manually check smooth, secure operation.
Connect Power, Controls, and Safety Sensors
Once the gate and concrete have cured, connect power, controls, and safety devices according to the operator’s wiring diagram and local electrical codes. Use properly rated conduit, disconnects, and weatherproof junction boxes, and ground every component as required.
Install the control board where moisture and unauthorized tampering can’t reach it. Connect keypads, card readers, intercoms, and Remote access equipment to dedicated terminals, then program user permissions and limits.
Wire photo-eyes, edge sensors, and emergency-stop controls so the gate reverses or stops when someone or something enters its path. Test each device independently and during opening and closing cycles.
Add a Battery backup sized for the operator and expected outage duration; verify automatic switchover and safe release behavior.
Keep low-voltage signal wiring separate from high-voltage conductors to reduce interference and protect access control.
Maintain Your Electronic Driveway Gate
Keep your electronic driveway gate reliable by inspecting its hinges, rollers, tracks, operator, wiring, and safety sensors on a regular schedule.
Remove debris from tracks, tighten approved fasteners, and lubricate moving points with the manufacturer’s specified product. Don’t apply grease to toothed belts or sensors.
Check that safety edges, photoeyes, and emergency-release hardware remain secure, clean, and correctly aligned.
Test the gate’s stopping and reversing functions without placing anyone in its path.
Review remote control programming periodically; delete lost transmitters, restrict user access, and change codes when personnel or contractors leave.
Protect wiring from moisture and pests, and schedule professional servicing for electrical components.
Wash panels with mild soap to preserve gate aesthetics, then inspect for corrosion, damaged coatings, or unauthorized tampering.
Record each inspection and correction for accountable maintenance.
Troubleshoot Common Gate Problems
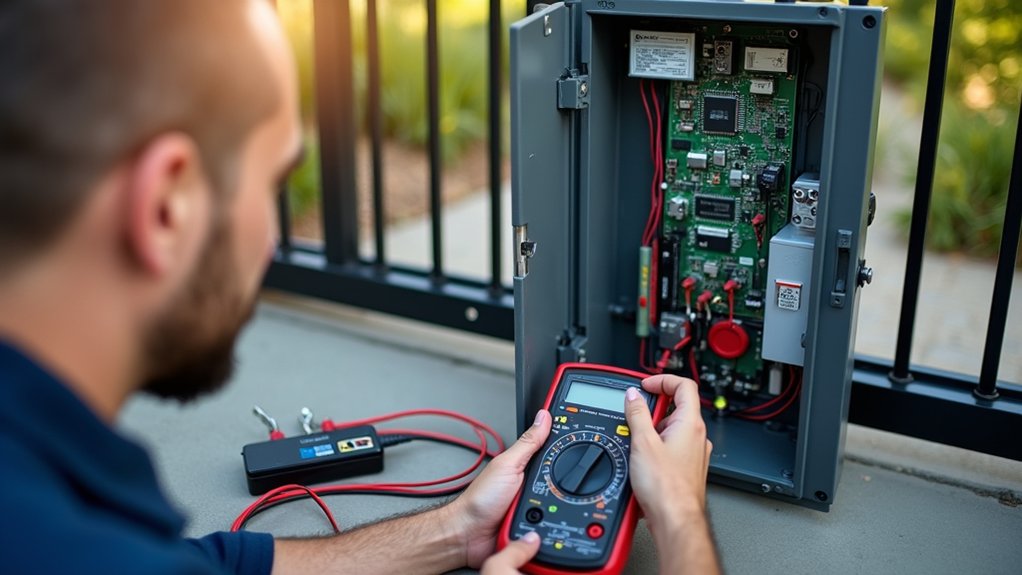
When an electronic driveway gate stops responding, troubleshoot the simplest causes first: confirm power at the disconnect and control panel, check for tripped breakers, inspect the remote’s battery, and verify that the gate isn’t locked, obstructed, or in emergency-release mode.
If the motor hums but the gate won’t move, inspect hinges, rollers, tracks, and limit settings for binding or misalignment. Test photo-eyes and other safety devices; clean their lenses and confirm sensor alignment, because a blocked beam should prevent operation.
If the remote fails while wired controls work, replace its battery and review remote programming instructions before adding a replacement transmitter. Don’t bypass safety circuits.
For intermittent operation, inspect terminals, fuses, weather seals, and moisture intrusion. Disconnect power before servicing, and call a qualified technician for damaged wiring, unusual noise, or repeated faults.
Frequently Asked Questions
Can Electronic Driveway Gates Operate During Power Outages?
Yes, electronic driveway gates can operate during power outages if you install a properly sized Battery backup. The system automatically switches to stored power, allowing normal opening and closing for a limited number of cycles.
You should test battery capacity regularly and replace aging batteries according to the manufacturer’s schedule.
If backup power fails, use manual operation with the approved release mechanism.
Keep access controls, lighting, and safety sensors functional to maintain security during outages.
How Much Does an Electronic Driveway Gate Installation Typically Cost?
Your electronic driveway gate installation will typically cost $2,000–$8,000, though elaborate wrought-iron systems can exceed $12,000—quite a tidy sum, even by medieval castle standards.
You’ll pay for the gate, posts, electrical work, controls, and labor.
A gate motor usually costs $300–$1,500, while safety sensors add $100–$500.
Ask contractors for itemized quotes, warranty coverage, backup-power options, and compliance with local safety codes before choosing an installer for your property.
Do Electronic Driveway Gates Increase Property Value?
Yes, electronic driveway gates can increase your property’s value, though the return depends on design, installation quality, neighborhood expectations, and buyer demand.
Aesthetics impact first impressions, so choose durable materials, proportional styling, and reliable automation.
Privacy benefits also appeal to buyers, while controlled entry, lighting, cameras, and intercom integration strengthen security.
Keep maintenance records, confirm code compliance, and avoid over-customization; poor upkeep or complicated controls can reduce appeal and offset the investment.
Are Electronic Driveway Gates Suitable for All Driveway Widths?
Not every driveway width suits every electronic gate—but the right design can overcome most limitations. Measure your opening first, because clearance determines whether you need sliding or swinging hardware.
Narrow driveways often favor sliding gates, while wide entrances may require dual swing leaves or reinforced tracks.
Consider Material options, including steel, aluminum, or composite, for weight and durability.
Confirm Security features, power capacity, sensors, and emergency release access before installation.
Conversational suspense: one overlooked measurement can compromise everything.
Do I Need Planning Permission to Install an Electronic Driveway Gate?
You may need planning permission to install an electronic driveway gate, depending on your location, height, position, and proximity to a road. Check your local authority’s rules before purchasing equipment.
Building permits may also apply to foundations, electrical work, or control pillars. Review neighborhood regulations, homeowners’ association rules, and visibility requirements.
Confirm the gate doesn’t obstruct traffic, pedestrians, or emergency access. Obtain approvals first, then install safety sensors, manual release controls, and compliant wiring.
Conclusion
With the right gate, reinforced footing, compliant wiring, and tested safety sensors, you’ll secure your driveway without turning access control into a daily negotiation with machinery. Maintain hinges, tracks, motors, remotes, and backup systems routinely; otherwise, your “smart” gate may develop remarkably primitive habits, such as refusing entry. When problems arise, isolate power, inspect sensors and connections, and call a qualified technician for electrical or structural faults. Reliable security depends on disciplined installation—not optimism.