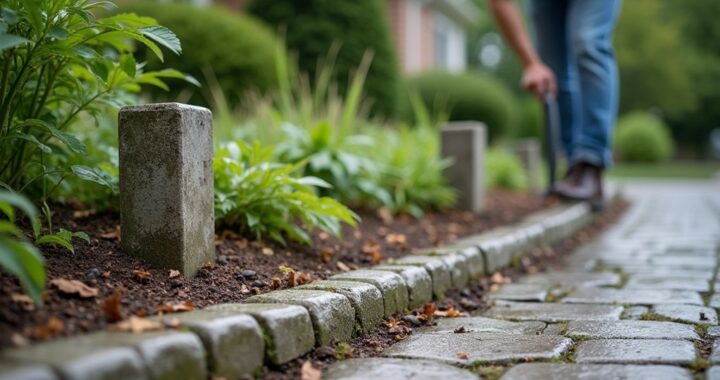

Restoring a weathered patio or paving slabs starts with a careful inspection, not a pressure washer. Check for cracked or loose slabs, failing joints, poor drainage, weeds, moss, and stubborn stains, then gather the right tools before you begin. Proper cleaning, repairs, repointing, and sealing will give your patio a longer-lasting finish, but one overlooked problem can undo the work—so start by evaluating the surface thoroughly.
Inspect Your Weathered Patio First
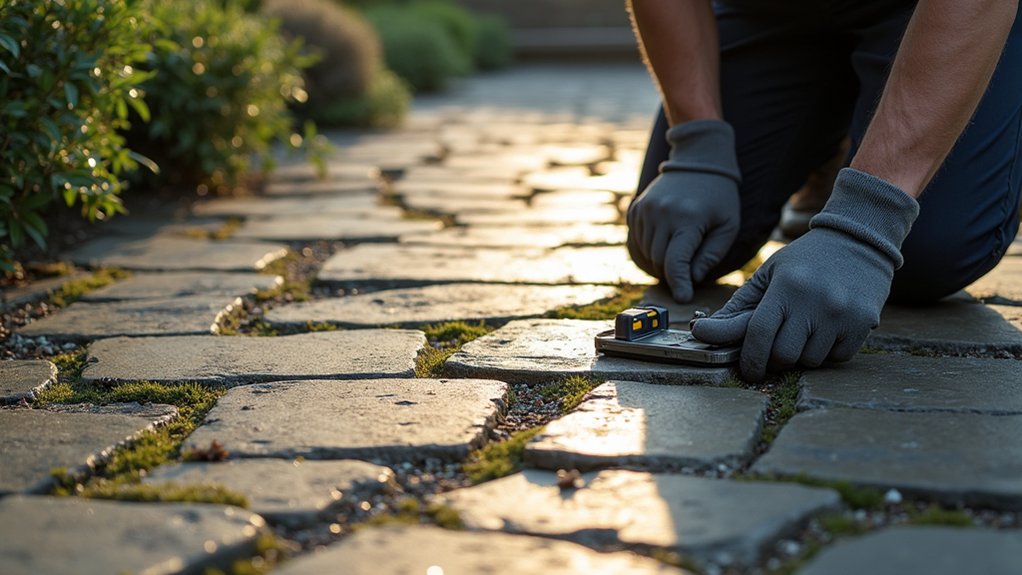
Before you clean or repair a weathered patio, inspect the paving slabs closely for cracks, loose sections, uneven areas, and worn or missing jointing material.
In the UK’s wet, changeable climate, check for moss, algae, frost damage, and staining, especially on shaded or poorly drained surfaces.
Press each slab carefully with your foot; movement may indicate failed bedding or erosion beneath it.
Look along edges and paths for trip hazards, then examine drainage falls to see whether rainwater can escape without pooling.
Note weeds growing through joints, as their roots can widen gaps and destabilise paving.
Photograph problem areas and mark their locations so you can plan repairs accurately.
A thorough inspection protects patio aesthetics, improves weather resistance, and helps you distinguish cosmetic wear from structural damage requiring professional attention.
Gather Tools and Prepare the Area
Once you’ve assessed the patio, gather a stiff outdoor brush, pressure washer or hose, bucket, scraper, pointing trowel, gloves, safety glasses, knee pads, and suitable jointing or repair materials.
Choosing the right tools helps you work safely and avoid damaging older slabs, especially porous sandstone or frost-affected concrete common across the UK.
Select a pressure washer with adjustable power, and use a wide fan nozzle rather than a concentrated jet.
Check that repair mortar and jointing compound suit your paving and local weather conditions.
Preparing the work area starts with removing furniture, pots, ornaments, and loose obstacles.
Protect nearby walls, doors, drains, and delicate planting with covers.
Keep children and pets away, identify trip hazards, and arrange a clear route for equipment, materials, and wastewater before you begin.
Clean Patio Slabs and Remove Moss
Start by sweeping the patio thoroughly to remove leaves, grit, and loose moss, then scrape stubborn growth from joints with a hand tool.
In the UK’s damp, shaded gardens, moss returns quickly, so work methodically before washing.
Move garden furniture aside and protect nearby borders, electrical sockets, and outdoor lighting from splashes.
Apply a patio cleaner suitable for your paving material, following the label’s dilution and contact time.
For lighter soiling, warm water and a stiff, non-metallic brush may suffice.
Agitate the surface, concentrating on slippery green patches and shaded edges, then rinse with a pressure washer on a low setting or use a hose.
Keep the nozzle angled across the slabs, not directly into joints.
Collect dirty runoff where practical, and let the patio dry fully before evaluating its cleanliness.
Repair Cracks and Replace Damaged Slabs
With the patio clean and fully dry, inspect each slab for cracks, rocking, or broken edges, marking sections that need attention. In frost-prone regions, replace slabs with movement, as patching rarely survives repeated freeze-thaw cycles. Lift damaged units carefully, remove unstable bedding, and check the base for hollows or standing water. Compact fresh sub-base material, then add a level bedding layer before setting the replacement.
- Cut narrow cracks with a masonry grinder and fill them with exterior repair compound.
- Replace rocking slabs rather than forcing them level with excessive mortar.
- Match thickness, colour, and texture using suitable material options.
- Consider current Design trends, such as porcelain-look concrete or reclaimed stone.
Use a rubber mallet and straightedge to align the new slab with surrounding surfaces. Keep repaired areas protected from traffic until the compound or bedding has cured. Don’t disturb sound slabs unnecessarily.
Repoint Patio Joints for Stability
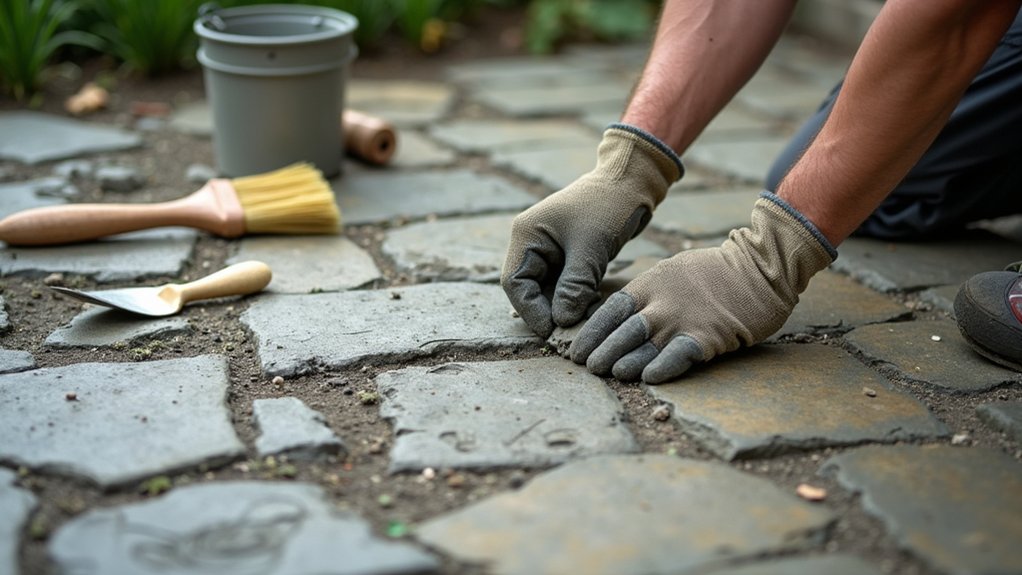
Repointing is most effective after damaged slabs have been repaired and the joints are clean and dry. In Britain’s changeable weather, rake out loose mortar to a depth of 25–30mm, taking care not to chip slab edges. Brush away dust, then lightly dampen the joints without leaving standing water.
Choose a frost-resistant exterior jointing mortar suited to your paving; follow the manufacturer’s mixing ratio, especially during cold or wet conditions. Pack the mix firmly into each gap with a pointing trowel, working in manageable sections. Compact the mortar fully to prevent voids, then strike the joints slightly below the slab surface for neat drainage.
Remove smears immediately with a damp sponge. Keep foot traffic off the patio until the mortar has cured, supporting reliable joint stabilization.
Protect Paving Slabs With a Sealer
Once the repointed joints have cured fully, protect the paving with a sealer suited to the slab material, whether concrete, sandstone, limestone, or clay pavers. In Britain’s damp, variable climate, sealing helps reduce water absorption, staining, algae growth, and frost damage.
Compare sealer types carefully: penetrating sealers preserve a natural appearance, while film-forming products deepen colour and add sheen. Always check compatibility, especially with breathable sandstone or limestone.
- Clean thoroughly and let every slab dry completely.
- Test the sealer on an inconspicuous area first.
- Follow the manufacturer’s coverage and drying times.
- Keep rain, pets, and foot traffic away while it cures.
Use application techniques that suit the surface: apply thin, even coats with a roller, brush, or low-pressure sprayer, and remove puddles promptly.
Don’t seal during cold, wet, or intensely sunny weather, as uneven curing can leave marks or a cloudy finish.
Maintain Your Restored Patio Year-Round
Keep your restored patio clean by sweeping regularly and removing algae, moss, and stains before they spread.
In regions with freezing winters, inspect joints and drainage before autumn ends, then apply sealer to help limit water penetration and frost damage.
Recheck the surface after storms and touch up worn areas promptly.
Clean Regularly
Regular cleaning helps prevent dirt, algae, and leaf stains from undoing your patio restoration, especially in the UK’s damp, changeable weather. Sweep your paving weekly with a stiff brush, paying attention to joints where moss and weeds take hold. After heavy rain, remove standing leaves promptly to limit staining and slippery surfaces.
Use a pH-neutral patio cleaner and follow its instructions; harsh acids can damage slabs, pointing, and nearby lawns. Rinse thoroughly, but avoid directing a pressure washer into joints or against fragile surfaces.
- Move garden furniture before sweeping and clean beneath it.
- Include edges and steps in every cleaning routine.
- Trim overhanging growth during regular plant maintenance.
- Treat fresh spills quickly with warm water and mild detergent.
Check your patio each month, and tackle small growth early. Consistent care keeps restored paving safer, brighter, and ready for everyday use.
Seal Before Winter
After cleaning your restored patio, seal it before the first hard frosts arrive. In northern regions, complete this winter preparation during a dry spell in early autumn, when temperatures remain above 10°C and the slabs have fully dried. Check the forecast for at least 24 hours without rain, and remove leaves, dirt, and efflorescence first.
Your sealant selection should match the surface. Use a breathable penetrating sealer for natural stone or older, moisture-prone paving; choose a film-forming product only where the manufacturer approves it.
Apply thin, even coats with a roller or sprayer, keeping the surface free from puddles. Protect nearby walls and plants from overspray. Allow the recommended curing time before walking on the patio, and longer before replacing furniture.
Reapply as directed, especially after harsh Scottish or northern English winters.
Frequently Asked Questions
Can Weathered Patio Restoration Increase My Property’s Value?
Yes, restoring a weathered patio can increase your property’s value, especially when buyers in your region prioritize usable outdoor space.
Cleaning, repairing joints, replacing damaged slabs, and improving drainage can strengthen its appeal and reduce perceived maintenance costs.
Coordinate the patio with local climate needs, durable materials, and thoughtful landscape design.
Better outdoor aesthetics can make your home show better, though you shouldn’t expect every restoration dollar to return at resale.
How Long Does a Professionally Restored Patio Typically Last?
A professionally restored patio typically lasts 10–15 years, much like a well-tended garden that rewards consistent care. Your patio durability depends on local weather, drainage, soil movement, traffic, and maintenance.
In freeze-thaw regions, quality restoration techniques—joint replacement, crack repair, leveling, and breathable sealing—help prevent water damage.
In milder, dry climates, results may last longer.
You’ll extend its life by cleaning gently, controlling weeds, and resealing when recommended.
Are Restored Paving Slabs Safe for Children and Pets?
Yes, restored paving slabs are generally safe for children and pets when you choose suitable products and follow the contractor’s instructions.
Ask whether the sealant is water-based, low-VOC, and non-toxic after curing; avoid toxic sealants and unnecessary chemical treatments.
Keep children and animals off the patio until the surface has fully dried and cured, typically 24–72 hours in the UK’s damp weather.
Rinse thoroughly and maintain good ventilation during application.
Can Patio Restoration Be Completed During Winter?
Yes, you can complete patio restoration during winter, but cold, damp conditions demand careful planning. Dry surfaces need attention; frozen or saturated slabs need delay.
For effective winter preparation, choose a mild spell, check local forecasts, and work when temperatures remain above the product’s minimum, typically 5°C.
Seasonal considerations matter across the UK: protect freshly jointed paving from frost, avoid rain, and allow extra curing time. You’ll achieve better results in spring.
Should I Restore My Patio or Replace It Entirely?
You should restore your patio when its base remains stable, slabs sit level, and damage stays mostly cosmetic.
Choose replacement if you see widespread cracking, sinking, drainage problems, or frost-heaved paving, especially in colder regions.
Make a cost comparison: cleaning, jointing, sealing, and resetting usually cost less than excavation and new materials.
Follow practical DIY tips, but hire a professional for structural repairs, complex drainage, or extensive winter damage to guarantee lasting results and safety.
Conclusion
With the right sequence, you’ll give a weathered patio a longer, safer life. Inspect first, clean thoroughly, repair cracks, repoint joints, and seal only when the slabs are fully dry. In the UK, patios can face more than 150 rainy days annually, so good drainage and breathable protection matter. Sweep regularly, remove weeds early, and spot-clean stains before they settle. A few minutes of seasonal care will help your paving withstand wet winters and look welcoming year-round.