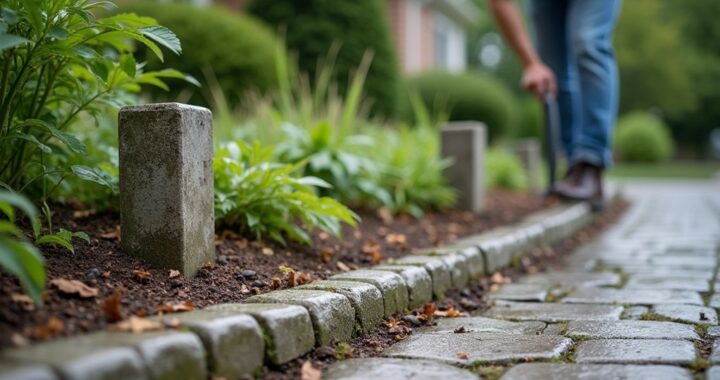
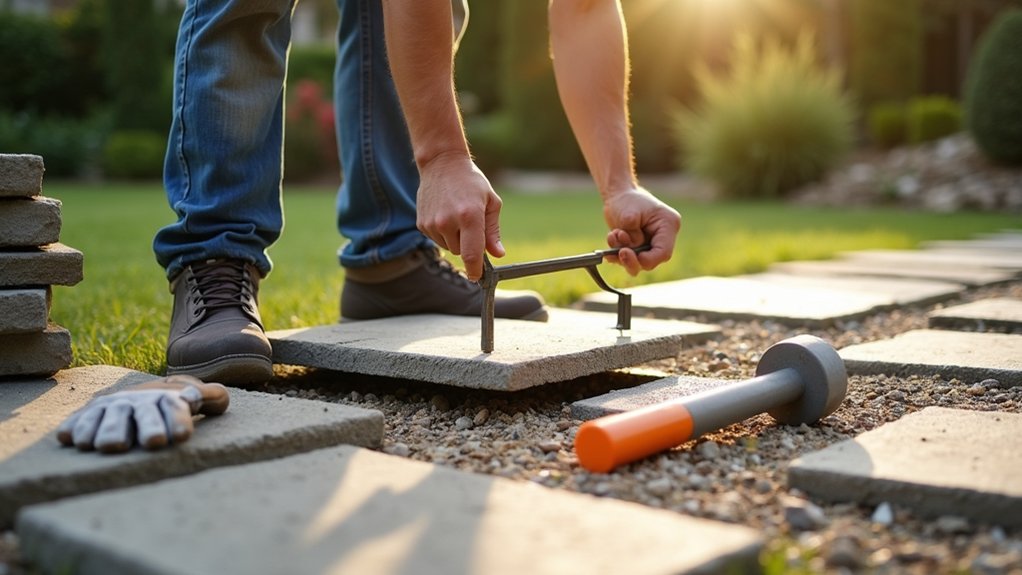
After heavy rain, a patio slab beside your back door may settle enough to create a tripping edge or direct water toward your home. Don’t ignore loose joints, rocking slabs, or standing water, because small shifts often signal a failing base. You can restore a level, safer surface by diagnosing the cause, lifting slabs carefully, rebuilding the foundation, and correcting drainage—but the first step determines whether the repair lasts.
Diagnose Why Patio Slabs Sink or Shift
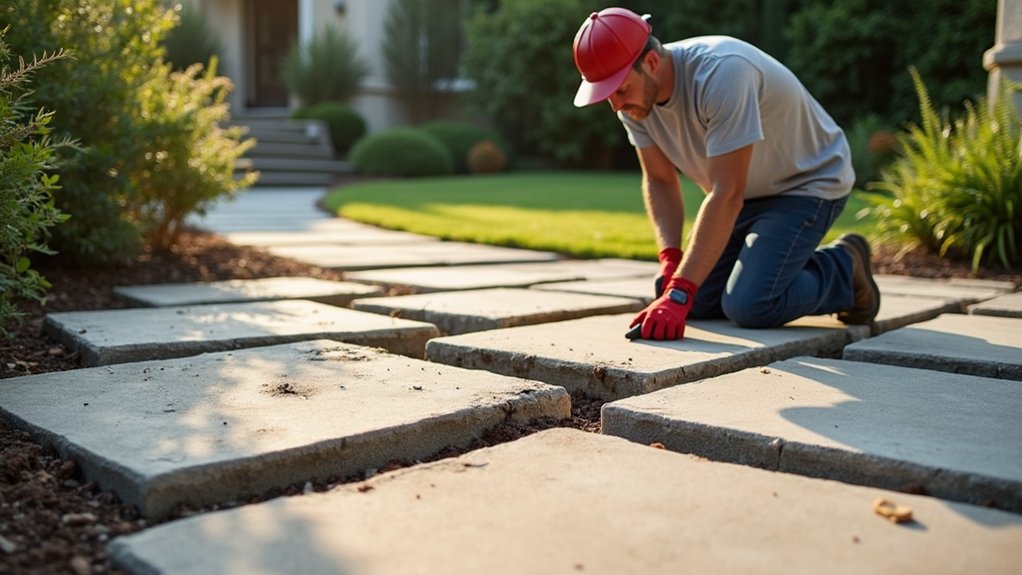
Before repairing a sunken or loose patio slab, identify what caused it to move. Inspect surrounding grades for water flowing toward the patio, standing water, or eroded soil along edges. Poor drainage commonly washes away supporting material, while expansive clay can swell and shrink, lifting or dropping sections.
Check nearby downspouts, sprinklers, and plumbing for leaks that soften the base. Look for tree roots, burrowing animals, or construction debris beneath the slab.
Uneven joints, cracked edges, rocking movement, and gaps reveal whether the problem affects one slab or the entire base. Don’t assume adding concrete will solve settlement; it can conceal unstable soil and create trip hazards.
Determine whether you need drainage correction, soil stabilization, or slab reinforcement. If movement is widespread or utilities may be involved, consult a qualified contractor before proceeding.
Gather Tools and Prepare the Patio
Gather a pry bar, shovel, level, rubber mallet, gloves, safety glasses, and replacement bedding material before you begin.
Clear furniture, debris, and people from the work area, and mark nearby utilities if excavation is required.
Inspect each slab for cracks, sharp edges, and unstable sections so you can plan safe repairs.
Essential Tools Checklist
Start by assembling a flat shovel, pry bar, rubber mallet, level, tape measure, work gloves, safety glasses, a broom, and a garden hose. Choose sturdy tools suited to the slab’s weight and your patio’s construction.
Wear gloves to protect your hands from sharp edges, and use safety glasses whenever you pry, tap, or brush debris.
Check that your level reads accurately and that your tape measure locks securely; precise measurements help you restore an even surface without damaging the surrounding patio design.
Keep the shovel and pry bar free of cracks, and inspect the mallet’s head before use.
A broom removes loose grit from joints, while the hose lets you dampen compacted soil when needed.
These basics support safe, controlled work in any garden landscaping project.
Clear the Work Area
Once you’ve assembled your tools, clear furniture, planters, toys, and debris from the patio so you can inspect and access every slab safely. Move outdoor furniture well away from the work zone, and ask someone to help with heavy pieces. Remove cushions, umbrellas, grills, and decorations that could snag tools or collect dust.
If slabs contain decorative patterns, photograph their arrangement before moving anything nearby, so you can restore the layout later. Sweep loose dirt from surrounding areas, but don’t pressure-wash or disturb joints yet.
Keep pets and children away by closing gates or setting up a visible barrier. Wear sturdy shoes and gloves while carrying materials, and keep your tools together on a stable surface. Leave clear paths to exits, and avoid stacking items where they could topple.
Inspect Patio Slabs
Before lifting or loosening any slab, inspect the patio for cracks, rocking edges, uneven joints, and areas that slope toward the house. Walk across each slab slowly, shifting your weight to identify movement or hollow spots. Mark problem areas with chalk, then check transitions near steps, doors, drains, and retaining walls.
Use a straightedge and level to confirm depressions and measure how much each slab has settled. Look for standing water, eroded sand, root growth, and gaps that could invite weeds or insects.
Photograph the layout before repairs so you can preserve patio aesthetics and plan gardening integration around stable edges. Don’t work on severely cracked slabs without evaluating replacement needs.
Wear gloves and sturdy shoes, and keep children and pets away while you evaluate hazards and plan the repair.
Lift and Remove Sunken Patio Slabs
Inspect each sunken slab for cracks or instability before lifting, and wear gloves and safety glasses.
Use a pry bar or slab-lifting tool to raise it carefully, keeping your fingers and feet clear.
Remove the slab, then clear loose soil and debris from the base.
Assess Slab Damage
Start by checking each sunken slab for cracks, rocking, or broken edges, and note whether nearby slabs have shifted. Mark damaged pieces so you can plan repairs without disturbing sound sections.
Tap each slab lightly with a rubber mallet; a hollow sound can indicate voids beneath it, while movement suggests poor support.
Inspect joints for widening, gaps, or eroded sand, and look for water stains that may reveal drainage problems.
Check adjacent soil for soft spots, washout, or roots that could undermine the base.
Wear gloves, safety glasses, and sturdy footwear during inspection, and keep others away from unstable areas.
Determine whether the cause involves settlement, inadequate soil stabilization, or poor moisture control.
If a slab is cracked through, severely tilted, or unstable, plan replacement rather than patching.
Lift and Clear Debris
Once the area is secured, pry up each sunken slab with a flat bar or slab-lifting tool, working from its edges to avoid chipping adjacent pieces. Get help with heavy slabs, wear gloves and safety glasses, and never place fingers beneath a raised piece.
Set each slab on timber blocks, not directly on soil, so you can inspect it for cracks. Move garden furniture and decorative accents well away from the work zone to prevent damage. Then clear loose sand, roots, gravel, and weeds from the exposed base. A stiff hand brush and small shovel work well; use a shop vacuum for fine debris if conditions are dry.
- Stack reusable slabs on edge, separated by wood spacers.
- Bag broken pieces promptly to eliminate trip hazards.
- Keep children and pets outside the work area.
- Photograph the cleared base before rebuilding.
Check that no utility lines or drainage features are disturbed.
Rebuild the Base for Level Patio Slabs
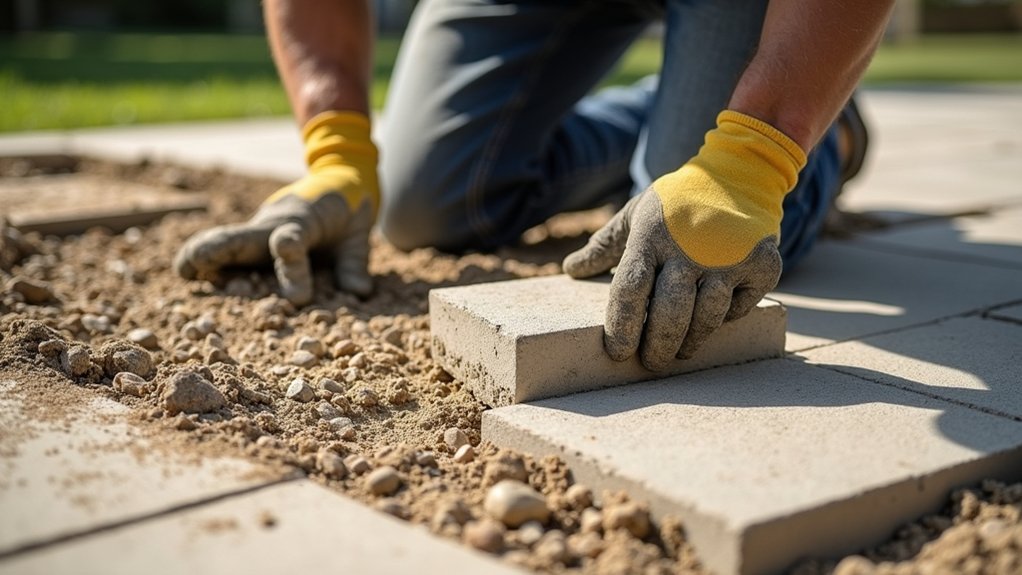
Rebuild the base before resetting the slabs, because a weak or uneven foundation will cause them to sink again. Excavate soft soil until you reach firm, undisturbed ground, maintaining the patio’s planned depth and slope for drainage.
Wear gloves, eye protection, and sturdy footwear, and call your utility service before digging.
Add crushed stone in 2- to 3-inch layers, then compact each layer thoroughly with a plate compactor. Check the surface with a straightedge and level; high spots need removal, while low spots need additional aggregate rather than loose soil.
Finish with a consistent layer of bedding sand, screeding it smooth without walking across it. Keep the base aligned with existing Paver patterns and leave room for Decorative edging, which helps contain the rebuilt foundation and maintain its shape.
Reset and Secure Loose Patio Slabs
With the compacted base and bedding sand in place, reset each patio slab carefully to restore a stable, even surface. Lower it straight down rather than sliding it, which can disturb the prepared sand. Tap the slab gently with a rubber mallet, checking level in both directions and matching neighboring joints.
- Wear gloves and safety glasses while handling heavy slabs.
- Keep edges aligned to preserve design consistency.
- Use a straightedge to identify rocking or raised corners.
- Lift and adjust any slab that won’t sit firmly.
Brush jointing sand into the gaps, then sweep away excess without forcing material beneath the slab. Confirm every piece feels solid underfoot before reopening the area.
Consistent spacing supports patio aesthetics and reduces tripping hazards. Don’t use excessive force; replace cracked slabs, and ask for help with large or awkward pieces to prevent injury.
Fix Drainage and Prevent Future Settling
Correct the drainage problem before finishing the patio, or the slabs may settle again. Inspect nearby downspouts, sprinklers, and slopes to find where water collects.
Improve water drainage by extending downspouts away from the patio, repairing leaks, and grading the surrounding soil so water flows away from the slabs. Don’t direct runoff toward foundations or neighboring property.
Remove saturated base material and replace it with clean, well-graded crushed stone. Spread it in thin layers, then compact each layer thoroughly with a plate compactor.
Proper soil compaction creates stable support and limits future movement. Keep the finished surface slightly above adjacent ground, with a gentle slope away from structures.
After resetting slabs, fill joints with polymeric sand and mist it according to the manufacturer’s instructions. Check the area after heavy rain and correct pooling immediately.
Frequently Asked Questions
Can Sunken Patio Slabs Be Repaired During Cold or Rainy Weather?
Yes, you can repair sunken patio slabs during cool or rainy weather, but conditions affect results. For lifting, leveling, or resetting slabs, choose a dry period with temperatures above the product manufacturer’s minimum.
Rain can wash out bedding material, while freezing temperatures may prevent proper curing. Check weather considerations and plan repair timing carefully.
Cover the work area, keep surfaces dry, and postpone repairs if storms, frost, or saturated soil create unsafe conditions.
How Long Should I Wait Before Placing Furniture on Repaired Patio Slabs?
You should typically wait 24–48 hours before furniture placement on repaired patio slabs, allowing mortar, adhesive, or jointing material to set.
Follow the product manufacturer’s instructions, since curing times vary with temperature, moisture, and repair depth.
Your repair timeline may extend to 72 hours or longer during cold or rainy weather.
Keep heavy furniture, grills, and foot traffic off the area until it feels firm and fully cured.
Should I Hire a Professional for Extensive Patio Slab Damage?
Yes, you should hire a professional when extensive patio slab damage affects multiple areas, involves major settling, or reveals drainage and soil problems. A contractor can assess structural risks, stabilize the base, and restore proper grading safely.
Compare professional estimates with DIY repairs, but don’t choose solely by price. Your cost comparison should include tools, materials, labor, injury risks, and potential rework.
Avoid using damaged areas until repairs are complete.
Can Patio Leveling Repairs Affect Nearby Landscaping or Retaining Walls?
Yes, patio leveling repairs can affect nearby landscaping or retaining walls. You’ll risk landscape disruption when crews excavate, inject material, redirect drainage, or operate heavy equipment near beds, roots, and irrigation lines.
A retaining wall impact may occur if soil shifts, water concentrates, or repairs undermine its footing.
Before work begins, you should map utilities, inspect wall stability, protect plants, control runoff, and hire a qualified professional for tight or unstable areas.
Are There Warranties Available for Professional Patio Slab Repair Services?
Yes, you can often obtain a patio warranty and repair guarantees from professional slab-repair contractors. Coverage varies, so you should request written terms before hiring.
Confirm whether the warranty covers labor, materials, settling, cracking, or drainage-related movement, and ask how long protection lasts.
Choose a licensed, insured company that explains exclusions clearly.
Keep your contract, invoices, and maintenance instructions, and report problems promptly to preserve your warranty rights and safety.
Conclusion
A level patio is more than a flat surface—it’s the steady foundation beneath every step, chair, and gathering. Inspect slabs after heavy rain, correct drainage, and rebuild weak bases before small shifts become serious hazards. Lift pieces carefully, compact crushed stone and sand, then reset and secure each slab with proper slope. Don’t ignore cracks, rocking, or standing water. With routine checks and timely repairs, you’ll keep your patio safe, stable, and ready for years of use.