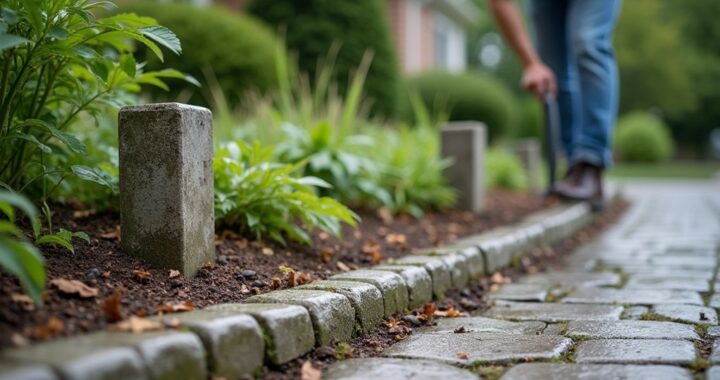
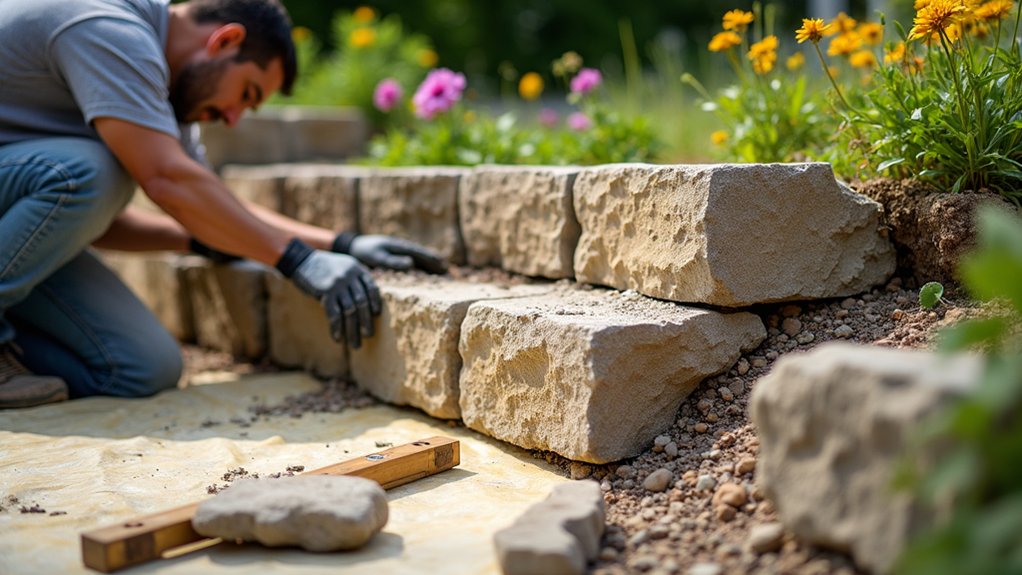
Repairing a garden wall or retaining structure starts with a careful inspection, not a quick patch. Check both sides for cracks, leaning sections, loose stones, bulging, and signs of water pressure. Before you replace mortar or blocks, correct drainage so moisture doesn’t undermine the repair. You’ll also need matching materials, suitable tools, and clear photographs of the existing work. Follow each step carefully, because hidden movement may signal a problem that requires professional assessment.
Inspect Garden Walls for Damage and Risk
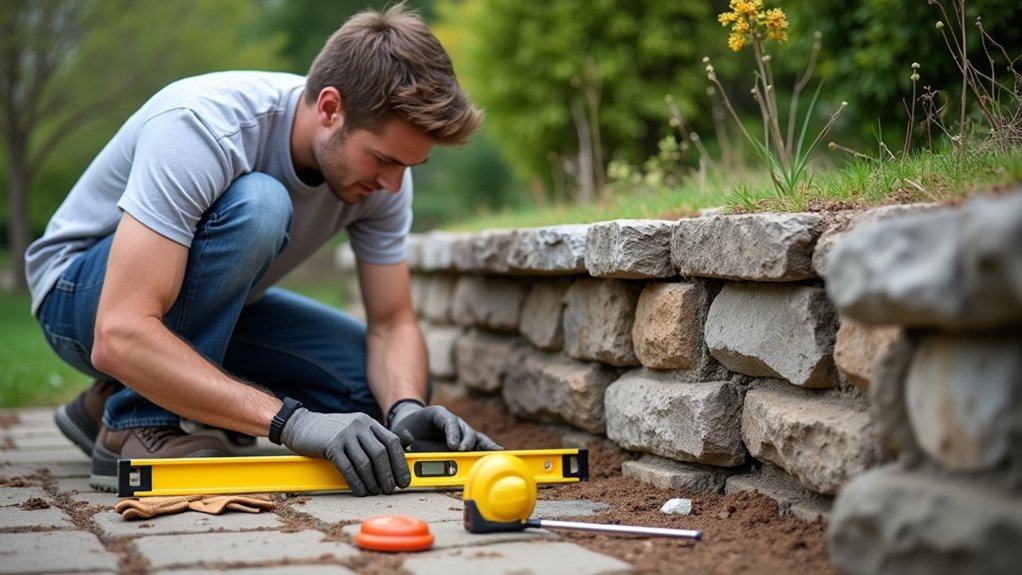
Before repairing a garden wall, inspect it systematically for damage and immediate safety risks. Walk both sides, keeping clear of bulges, leaning sections, loose stones, and overhanging masonry. Look for stepped cracks through mortar joints, widening vertical cracks, displaced caps, eroded joints, and gaps beneath stones.
Tap masonry carefully with a hammer; a hollow sound can indicate separation, while crumbling mortar needs prompt attention. Check whether gates, fences, or attached fixtures are pulling the wall out of alignment.
Photograph each defect and mark its location, length, and apparent movement.
Perform vegetation removal around the face and footing, but don’t pull deeply rooted growth until you’ve assessed possible displacement.
Test Wall stability by observing plumbness and gently checking loose components. If collapse seems possible, cordon off the area and contact a qualified professional.
Fix Drainage Before Repairing Retaining Structures
Water is often the main cause of retaining-wall failure, so correct drainage problems before rebuilding cracks, resetting stones, or repointing joints.
Check whether downspouts, paving, or compacted soil directs water toward the wall. Extend outlets away from the structure, clear blocked channels, and regrade surfaces to shed runoff safely.
For walls holding back soil, install suitable drainage solutions, such as a perforated pipe behind the base, wrapped in filter fabric and surrounded by clean gravel. Confirm that outlets discharge freely and won’t erode the footing or a neighboring property.
If water remains trapped, consult a qualified professional before continuing. Controlling pressure improves soil stability and prevents fresh repairs from failing.
Don’t excavate aggressively beside a leaning wall; stage drainage work carefully to avoid sudden movement or collapse.
Gather Materials for Garden Wall Repairs
Once drainage is under control, gather the materials that match your wall’s construction and the repairs you’ve identified. Photograph the existing structure, then take a loose brick, block, or stone sample to a reputable supplier for accurate color, size, and texture matching.
Choose compatible mortar, bedding material, aggregate, reinforcement, and clean water; avoid stronger cement mixes that could damage older masonry. For retaining structures, confirm you have suitable backfill, free-draining gravel, filter fabric, and replacement drainage components.
Add essential tools, including a pointing trowel, masonry brush, buckets, level, gloves, eye protection, and dust mask. Preserve reusable materials whenever possible.
Matching originals supports Garden wall aesthetics, while careful sourcing advances historical preservation. Buy slightly more than measured quantities, but store everything covered and off the ground to prevent contamination or weather damage.
Repair Cracks, Loose Blocks, and Mortar Joints
Start repairs by removing loose mortar, cracked fragments, and unstable blocks until you reach sound material, wearing eye protection and a dust mask as you work. Brush out dust, then dampen the cavity so fresh mortar bonds properly.
Replace damaged blocks with matching units, setting each one level and flush with the surrounding face. For narrow cracks, widen them slightly into a clean V, pack in compatible repair mortar, and tool the surface before it fully hardens.
Rake deteriorated joints to a consistent depth, mist them lightly, and press in new mortar in compact layers. Match the existing mix’s strength, texture, and color; Material compatibility prevents premature failure.
Finally, strike joints to match the original profile, remove smears, and protect the repair while curing. Good workmanship preserves Wall aesthetics and sheds water effectively.
Know When to Call a Structural Professional
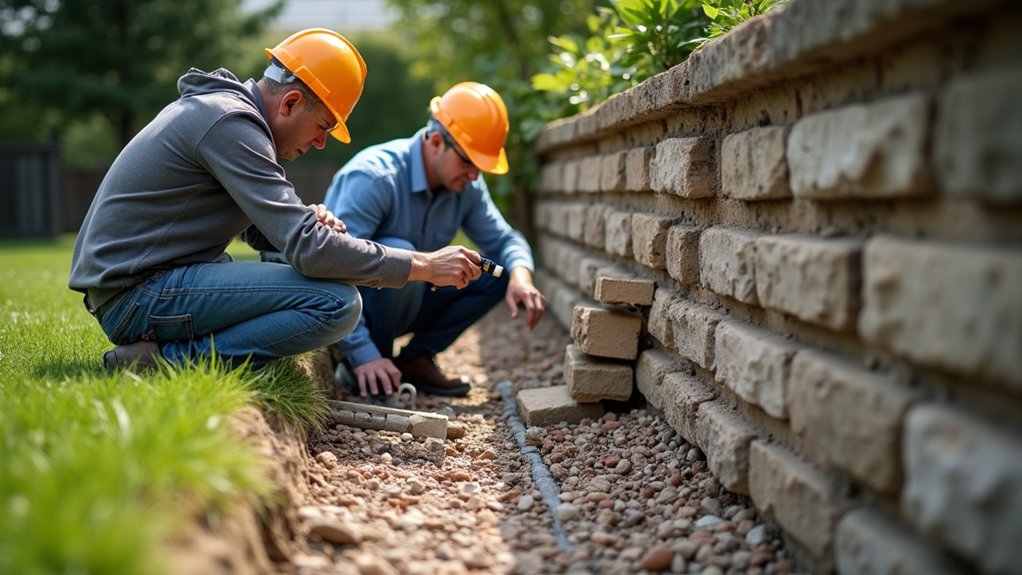
Call a structural professional when a garden wall leans noticeably, bulges, separates from adjoining walls, or develops cracks that widen, run diagonally through multiple blocks, or reappear after repair. These symptoms may indicate unstable foundations, soil pressure, drainage failure, or movement beyond a safe DIY repair.
Seek expert advice if stones shift, coping becomes loose, retaining walls tilt, or water pushes through joints. Don’t dismantle a retaining structure before an assessment; removing material can trigger collapse. A professional can inspect footing depth, reinforcement, backfill, weep holes, and nearby slopes, then specify safe repairs or rebuilding.
Ask for written recommendations and verify relevant qualifications and insurance. Discuss garden wall aesthetics and landscaping integration so structural improvements complement paths, planting, fences, and drainage. Keep people away from unstable areas until the wall receives a professional assessment.
Frequently Asked Questions
How Often Should Garden Walls and Retaining Structures Be Inspected?
Inspect your garden walls and retaining structures at least twice a year, ideally in spring and autumn, and after heavy rain, flooding, earthquakes, or nearby construction.
Watch for cracks, leaning, bulging, displaced stones, rusting reinforcement, blocked drains, and standing water.
Check for soil erosion and drainage issues, which can increase pressure and cause failure.
Clear outlets and gutters regularly.
If movement worsens, contact a qualified structural engineer promptly rather than attempting a cosmetic repair.
Can Plants and Tree Roots Damage Garden Walls Over Time?
Yes, plants and tree roots can damage garden walls over time. Picture a medieval battering ram beneath the soil: tree root intrusion can lift, crack, or displace masonry.
While aggressive plant growth impact can trap moisture and widen joints. You should keep large trees and shrubs away from foundations, prune encroaching roots only with professional advice, and remove climbing plants carefully.
Inspect cracks, bulges, damp patches, and leaning sections at least annually.
What Permits Are Required for Repairing or Rebuilding Retaining Walls?
You’ll usually need a permit to repair or rebuild a retaining wall when it exceeds your local height limit, supports a surcharge, sits near property lines, or affects drainage, utilities, or public land.
Check your municipality’s Building codes and zoning rules before starting.
Submit a permit application with site plans, wall dimensions, materials, drainage details, and, sometimes, an engineer’s calculations.
Ask planning and building officials about inspections, setbacks, and required neighbor approvals.
How Can Repaired Garden Walls Be Protected From Future Weather Damage?
Protect your repaired garden walls with careful sealing, sound drainage, and regular inspections. Apply a breathable weatherproof coating suited to your masonry, and renew it according to the manufacturer’s schedule.
Install effective drainage solutions, including weep holes, gravel backfill, or a perforated drainpipe, to prevent water pressure and freeze-thaw damage.
Keep gutters, downpipes, and wall caps clear, then inspect joints annually.
Address cracks, leaks, or leaning sections promptly before minor defects worsen.
What Maintenance Routine Helps Extend the Lifespan of Retaining Structures?
To extend your retaining structure’s lifespan, inspect it every season and after severe storms. Clear debris, weeds, and soil from joints, weep holes, and drainage channels so water flows freely.
Apply suitable sealant to exposed cracks, then monitor movement, bulging, or leaning. Schedule professional reviews when damage appears.
Consider Structural reinforcement for weakened sections and upgrade Drainage solutions where runoff collects.
Keep heavy equipment and saturated soil away from the wall’s base.
Conclusion
With careful inspection, proper drainage, compatible materials, and patient repairs, you can restore garden walls and retaining structures safely. Don’t ignore widening cracks, bulging sections, loose blocks, or persistent dampness; these warning signs can become a mountain of trouble after heavy rain. Photograph your progress, rebuild joints neatly, and check stability from both sides. If movement continues or the structure supports significant soil, call a structural professional before attempting further work.